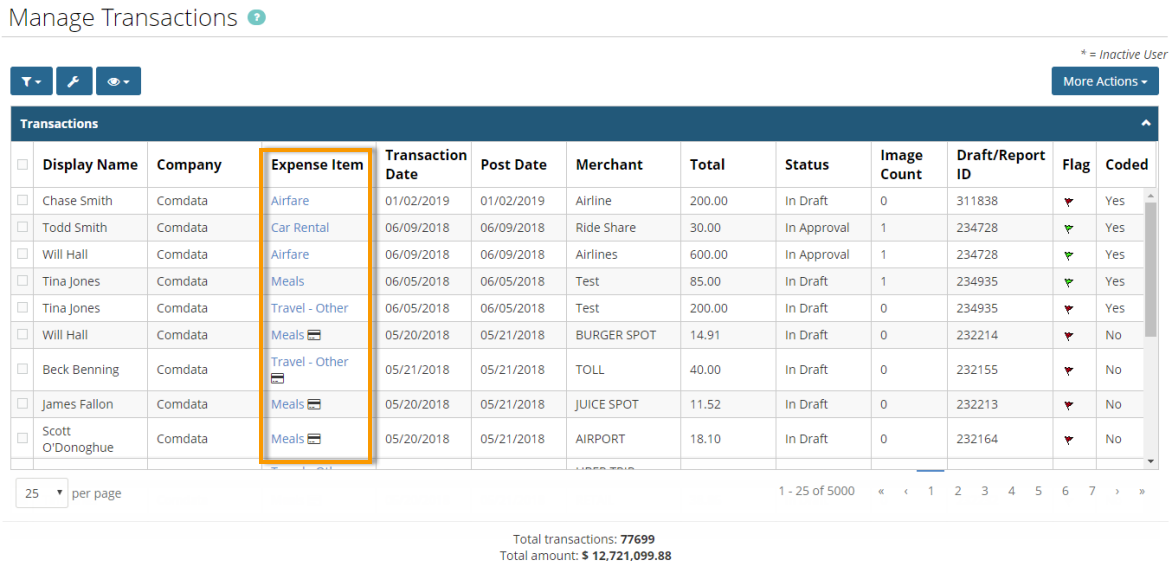
The Manage Transactions page allows you to edit and save transactions just as you can on expense reports. This ability saves you time from accessing draft expense reports to manage your transactions. If you are a Delegate user, this features removes the need to access each of your Delegators’ expense reports to manage their transactions.
1. Click a link in the Expense Item column.
2. The Edit Transaction window opens. This window mirrors the existing functionality on the Add/Edit Expense Item page within draft expense reports. Use the navigation arrows to move between transactions without saving any changes. If you need to save changes, click Save & Next before moving to the next transaction.
The Edit Transaction window contains three tabs: Expense Line Information, Receipts, and Mileage (if applicable).
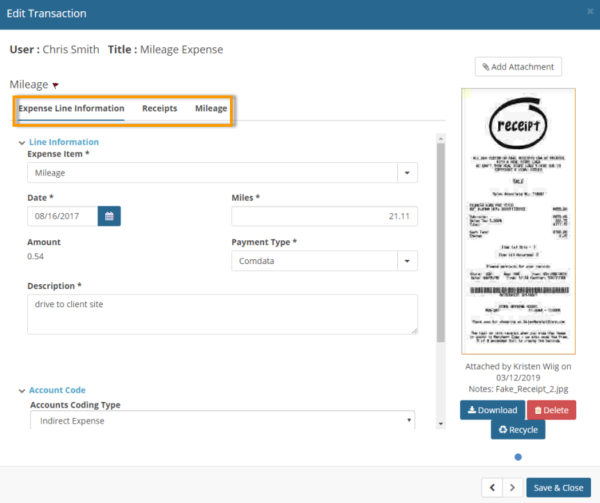
3. See below for details on using each tab:
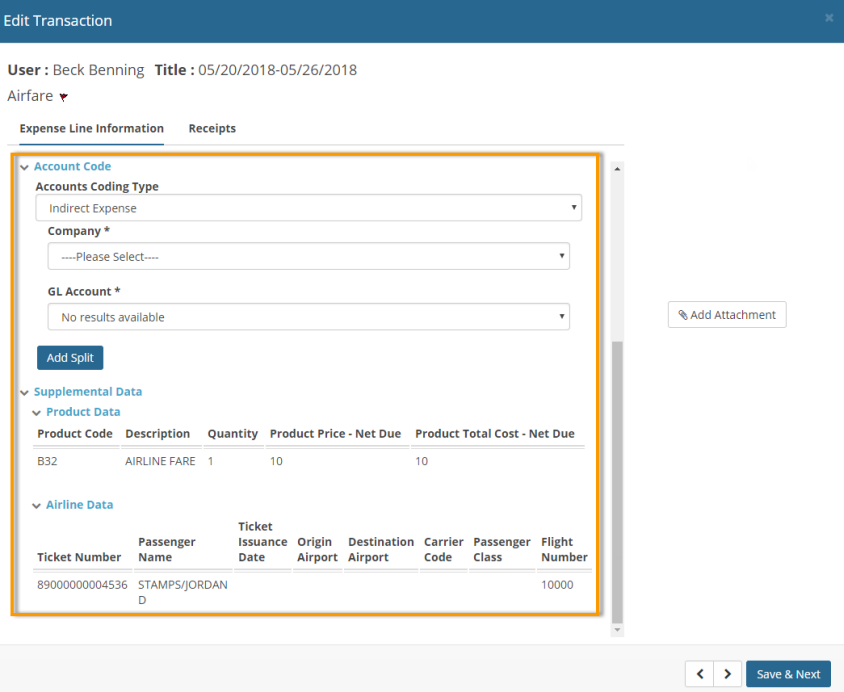
- Expense Line Information: The Expense Line Information tab contains the main transaction details. The editable fields displayed are dependent on the transaction’s expense item and expense type configuration.
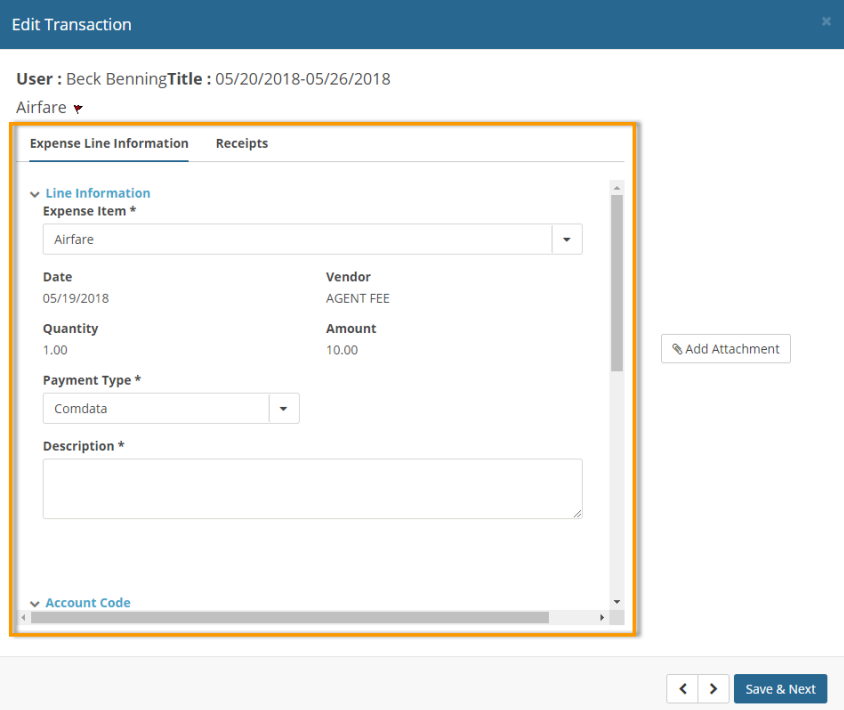
- Accounts Coding is available at the bottom of the tab with standard coding functionality available (cascading, defaulting, and split coding). For more information on accounts coding, see Review and Submit Comdata Mastercard Expenses. If the transaction originates from a Comdata Mastercard, supplemental product data displays below the Account Code section. Depending on the transaction’s merchant category code (MCC) additional details may display, such as hotel- or airline-related data.
- Receipts: The Receipts tab displays all receipts in queue uploaded through the Expense Track mobile app, manually added that were recycled, or emailed to Expense Track. The queue displays a thumbnail of the receipt image, the capture date, vendor, amount, and any notes for each image. Use this tab to attach one or multiple receipt images to a transaction.
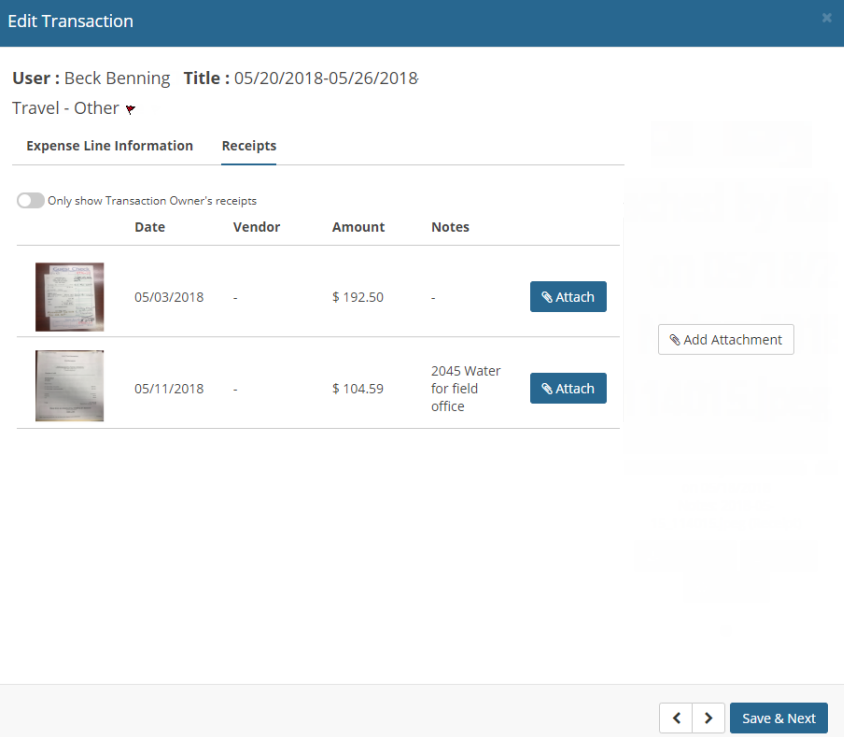
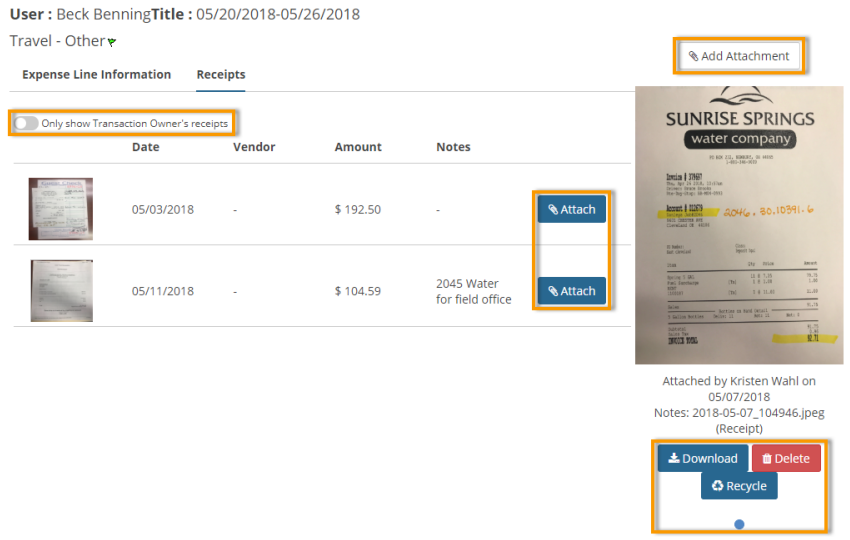
There are two methods to attach a receipt image to a transaction:
- Click Add Attachment to add a receipt image saved on your computer.
- Click Attach to attach a receipt image from the queue to the current transaction.
Once a receipt image is attached, you can use one of the following three options:
- Download: Saves the receipt image to your computer.
- Delete: Deletes the receipt image from the transaction.
- Recycle: Adds the receipt image back to the receipts queue.
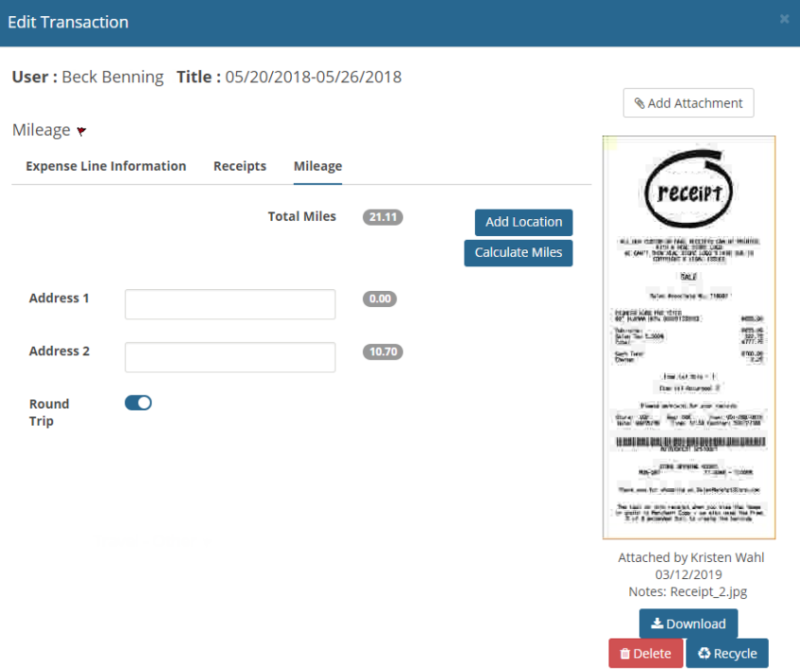
- Mileage: Displays only for mileage transactions. Use this tab to gain reimbursements for trips and to automate the mileage calculation process. You can use the following functions on this page:
- Add Location: Allows you to enter additional segments (up to 10 addresses) to the trip.
- Calculate Miles: Calculates the total miles driven for the addresses you entered. Clicking Calculate Miles updates the expense quantity with the total miles.
- Round Trip: If round trip mileage is to be considered, toggle the Round Trip button on. Then, click Calculate Miles to calculate the miles to and from the final destination.
