Just like the Expense Track website, you can create and submit reimbursable, out-of-pocket expense reports within the mobile app. Your list of draft reports will include any reports you create within the mobile app and ones from the Expense Track website. Use this feature to create expense reports when you’re on the go and don’t have access to a computer.
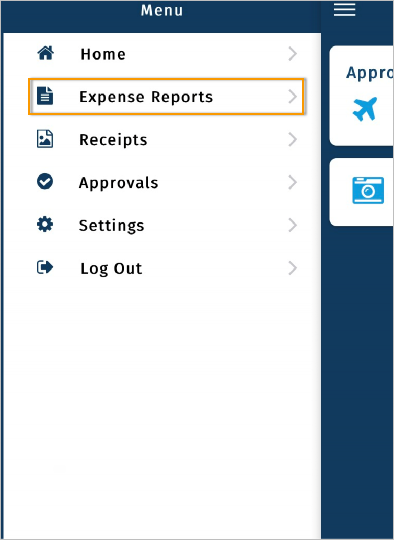
1. On the main menu, tap Expense Reports.
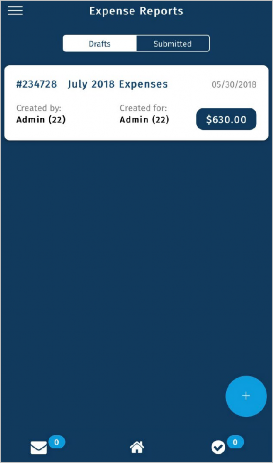
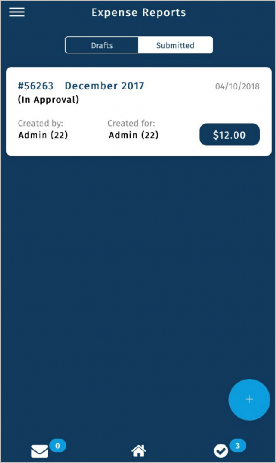
2. The Expense Reports screen is divided into two sections:
- Drafts: Expense reports that have not yet been submitted for approval. Open these to edit them or apply new line items.
- Submitted: Expense reports submitted for approval and/or reconciliation. You cannot edit these reports, but you can review them. These reports can be in one of four statuses:
- In Approval: Expense report is waiting for approver to take action.
- Declined: The approver declined the expense report.
- In Accounting: Expense report has been approved and is awaiting reconciliation.
- Fully Released: Expense report has been approved and fully reconciled.
Tap the plus icon ![]() to create a new reimbursable (non-Comdata card) expense report.
to create a new reimbursable (non-Comdata card) expense report.
3. Enter all of the header details for the expense report. Required fields are denoted by a red asterisk.
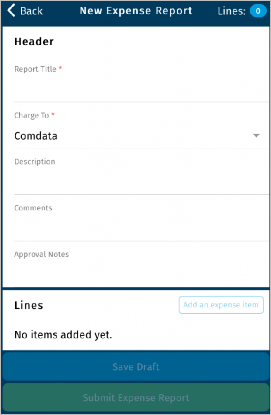
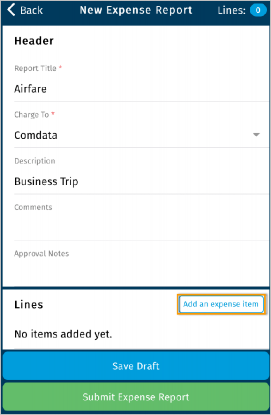
4. Scroll down to the Lines section and tap Add An Expense Item.
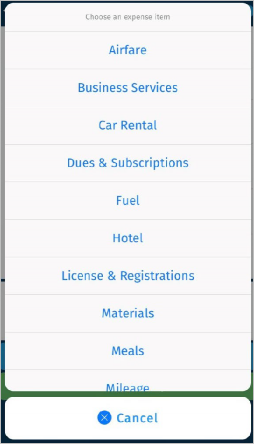
5. Select an expense item.
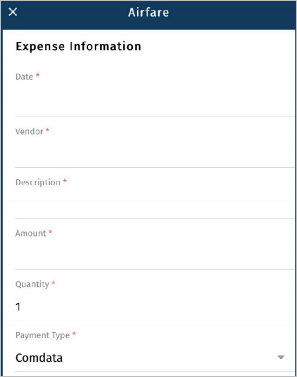
6. Complete each field on the expense item.
Required fields are denoted with a red asterisk.
Remember, the fields displayed are dependent on the expense type and configurations made by your administrator.
7. Scroll down and tap View Accounts Coding to enter account code details.

8. An Account Code section displays below. Select the appropriate account code structure. If default coding is applied, some fields may be selected for you, but can be changed.
9. If desired, tap Add Split to split the account coding.
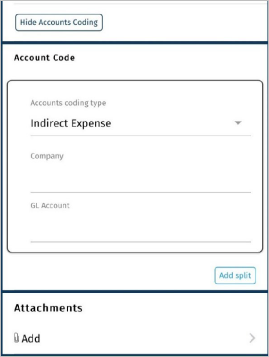
10. The screen refreshes to add another Account Code section below and includes a Coding Notes, Percentage, and Amount field in both sections.
Enter the amount of the split either in the Percentage field (for example, .5 for 50%) or Amount field (for example, 45.50 for $45.50).
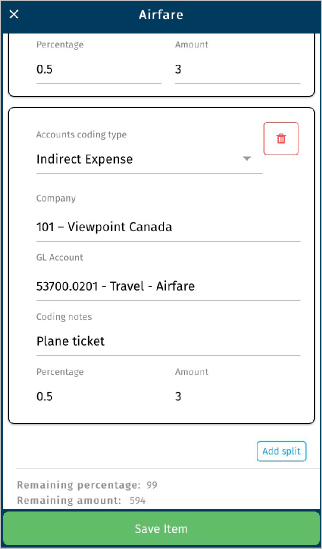
11. If another split is desired, tap Add Split again. You can add as many splits as necessary, but note that the split is not complete until the sum of all splits equal the total amount or percentage (1.0 for 100%) of the expense item.
12. Scroll down and tap the attachments icon ![]() to attach a receipt image to the expense item. You can either take a picture or select an existing one on your mobile device. See Capture Receipt Images for more information.
to attach a receipt image to the expense item. You can either take a picture or select an existing one on your mobile device. See Capture Receipt Images for more information.
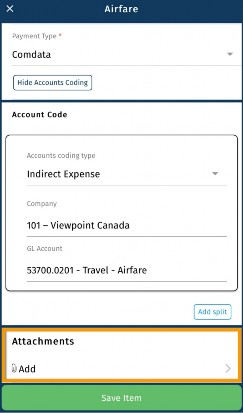
13. Once you’ve entered all necessary details, tap Save Item. The expense item is validated and saved with all information you entered.
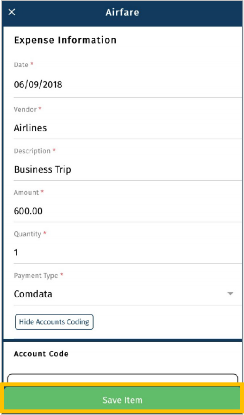
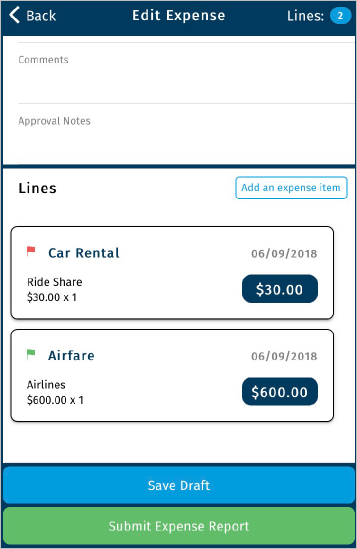
14. You are returned to the Edit Expense screen and the expense item displays at the bottom of the screen. From here, you can either:
- Tap Add an Expense Item to add another line item.
- Tap Save Draft to save the expense report which will display it at the top of the Expense Reports screen.
- Tap Submit Expense Report to submit the report for approval.
- A red flag
 means the expense item is incomplete and requires additional information.
 - A green flag
 means the expense item is complete and can be submitted with the expense report.
