Follow these steps to assign default MCCs for your own transactions:
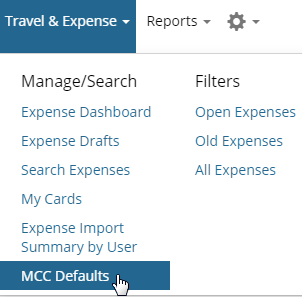
1. From the main navigation, select Travel & Expense > MCC Defaults.
2. The MCC Defaults page opens with a grid of all MCCs and their corresponding merchants and merchant categories. If universal, delegator, or personal MCC accounts coding defaults exist, they will display at the top of the list.
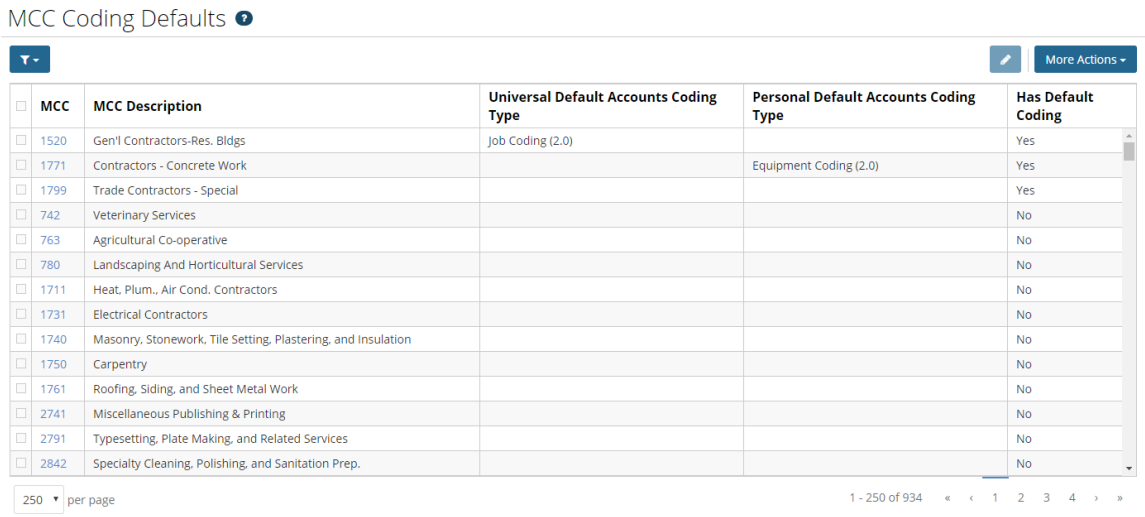
| Icon | Description |
|---|---|
| Filters |
Filter the grid to display MCCs by specific criteria, such as the MCC description and whether it has default accounts coding or not. Use filters to search for specific MCCs instead of scrolling through the entire list. Note: Any filters you apply will remain when you leave and return to this page. |
| Edit MCCs |
The Edit MCCs option is selectable only if you have selected multiple MCCs from the grid. This option allows you to add accounts coding to multiple MCCs at one time. |
| More Actions |
Provides two options for exporting data to an Excel spreadsheet:
Note: A maximum of 5000 rows can be returned when exporting to Excel. |
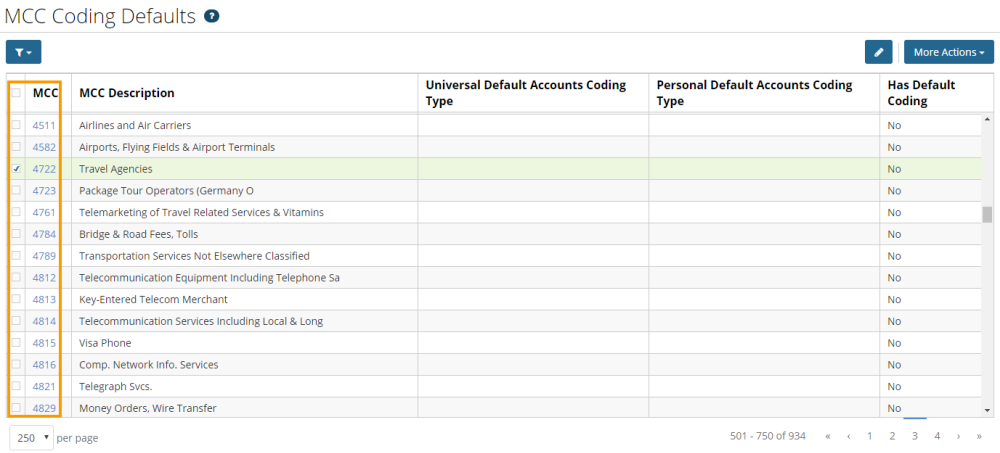
3. To select an MCC, select a check box in the MCC’s row. Then, click the corresponding link in the MCC column. For this example, Travel Agencies was selected.
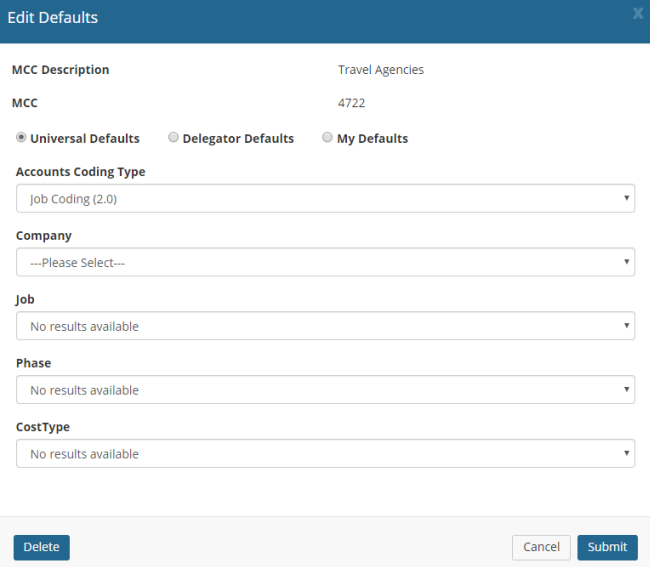
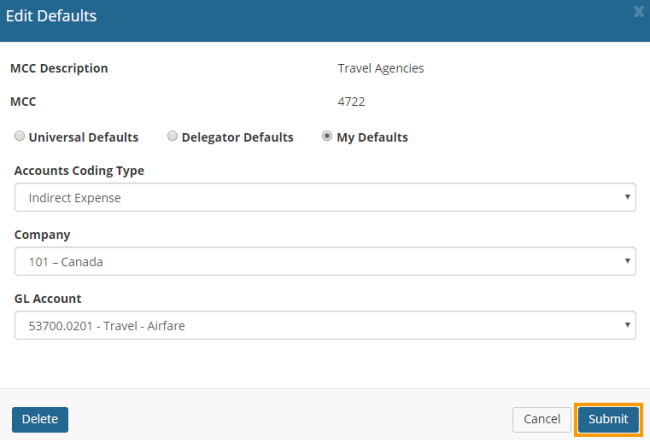
4. The Edit Defaults window opens. Select My Defaults. Then, select an Accounts Coding Type and complete the remaining fields as needed.
5. Once you’ve made your selections click Submit.
6. Your set combination of accounts coding defaults and coding strings are saved. These values will be applied to any Mastercard transaction assigned to your selected MCC.
