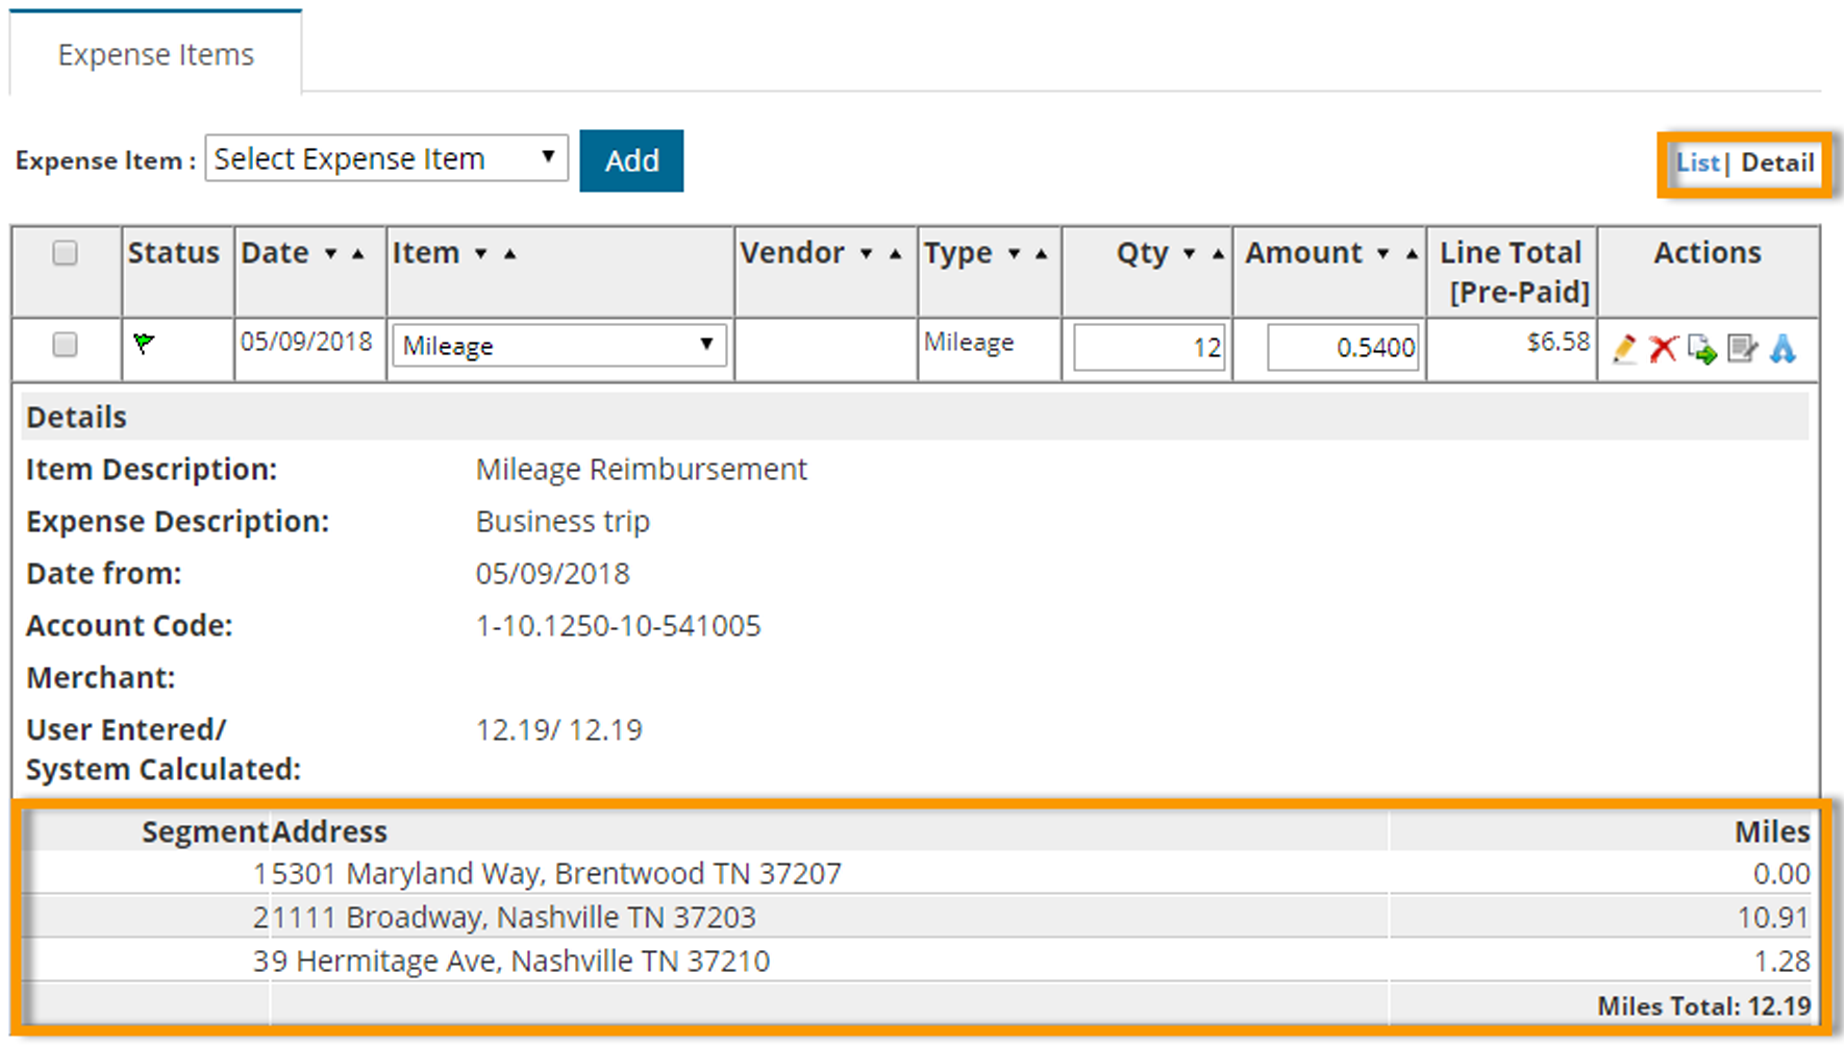
Mileage expense items offer the ability to calculate your miles driven by using an integrated Google Maps feature. This allows you to request reimbursements per mile driven. Use this feature to gain reimbursements for trips and to automate the mileage calculation process.
Follow these steps to add an expense item with mileage calculation to an expense report:
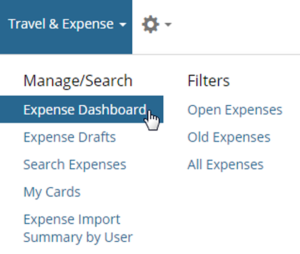
1. On the Expense Track main menu, select Travel & Expense > Expense Dashboard.
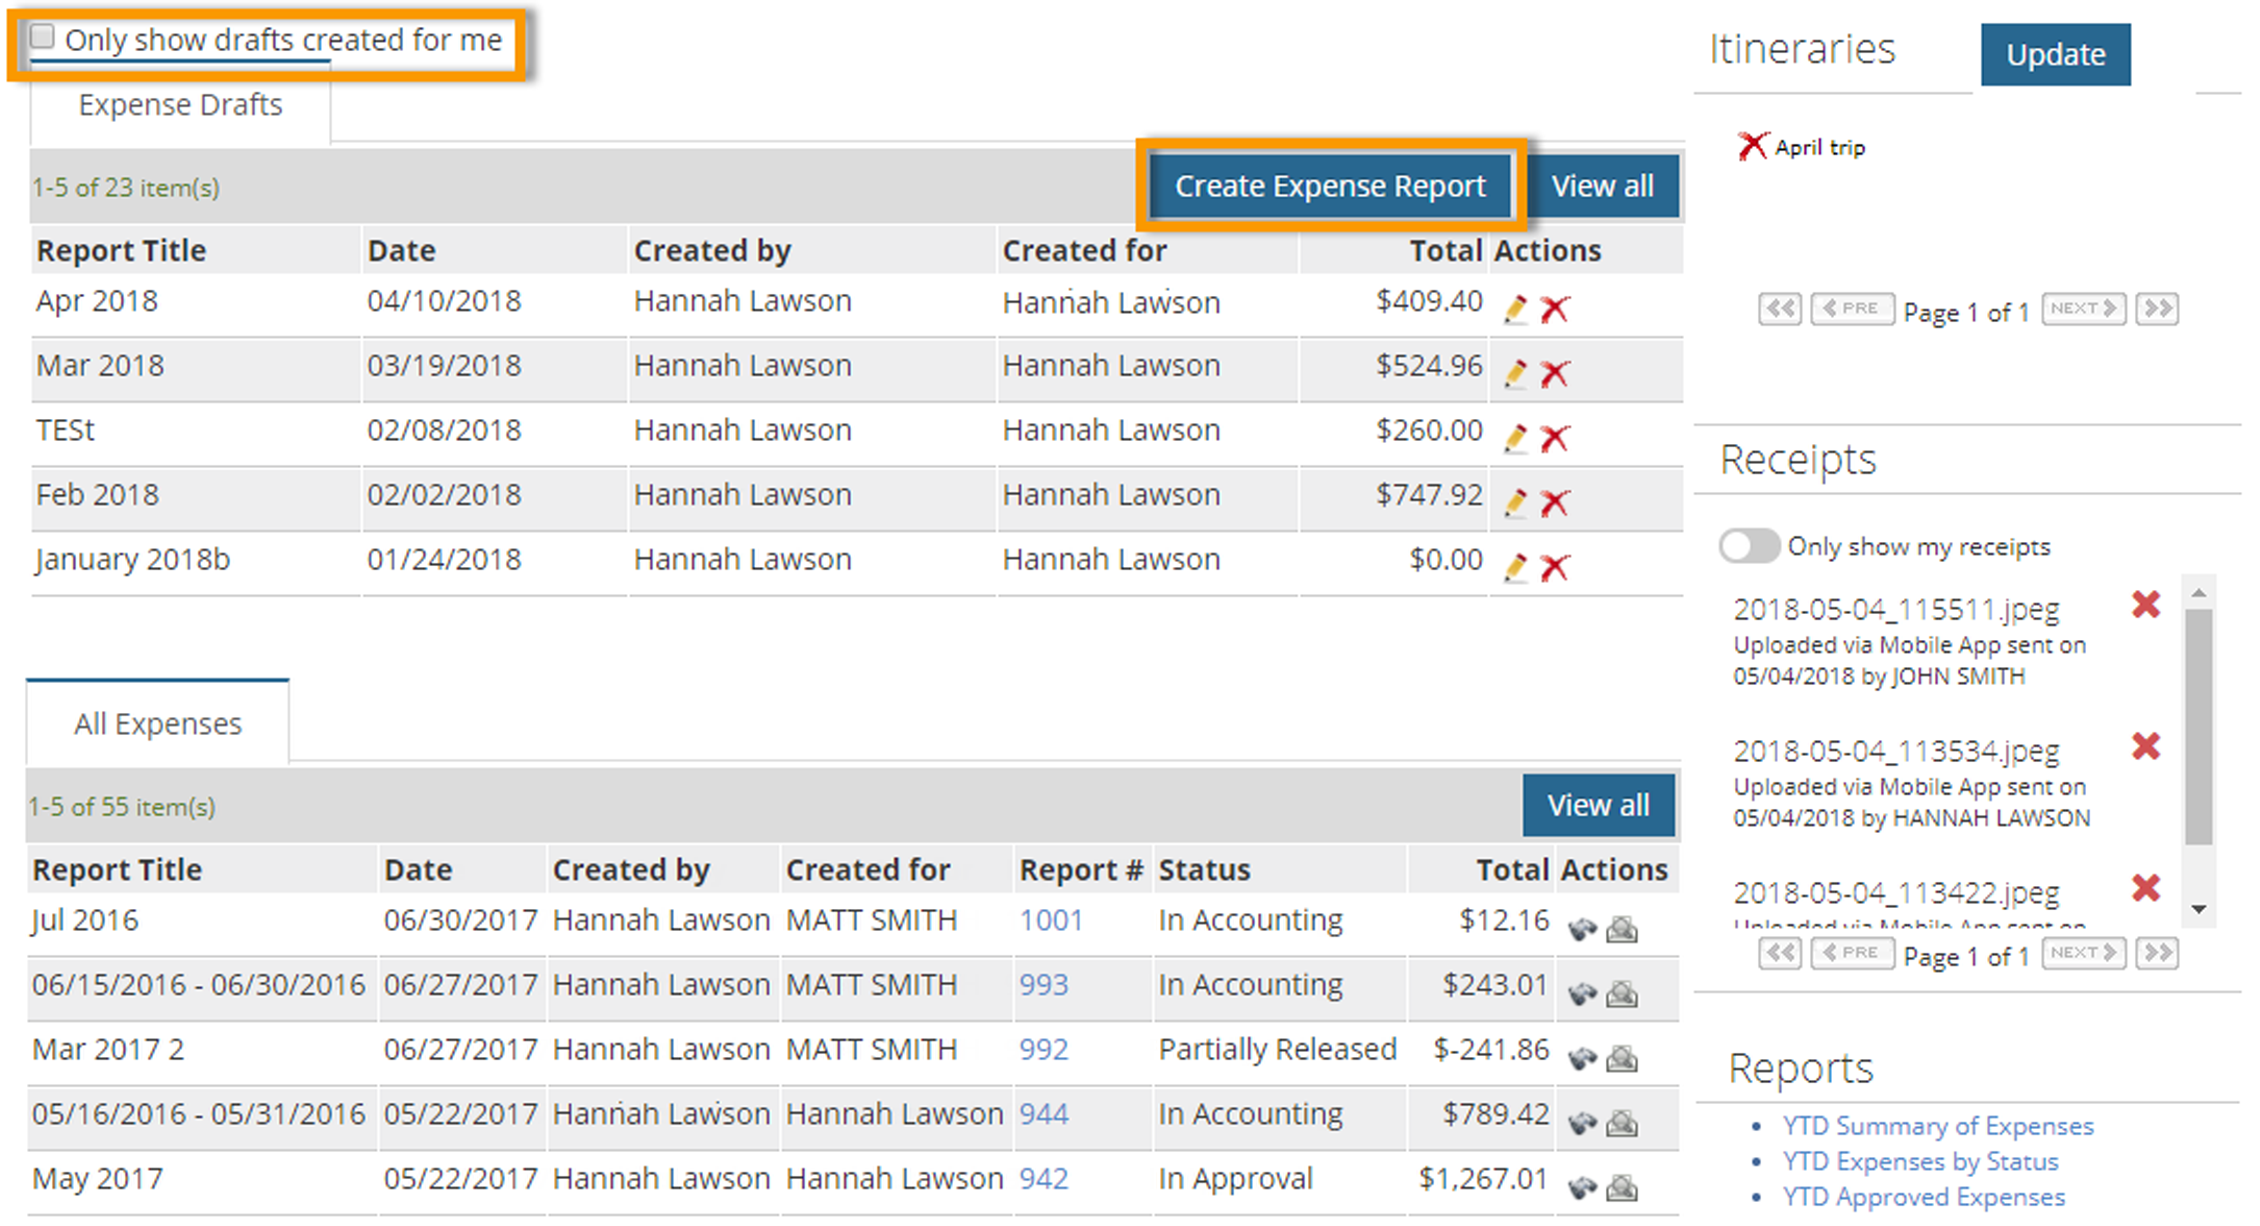
2. Click Create Expense Report.
3. Under the Expense Header section, complete each field as necessary. Required fields are denoted by an asterisk. These fields set up the expense report’s header, such as the report’s title, description, comments, and any notes for the expense approver. Click Save when finished.
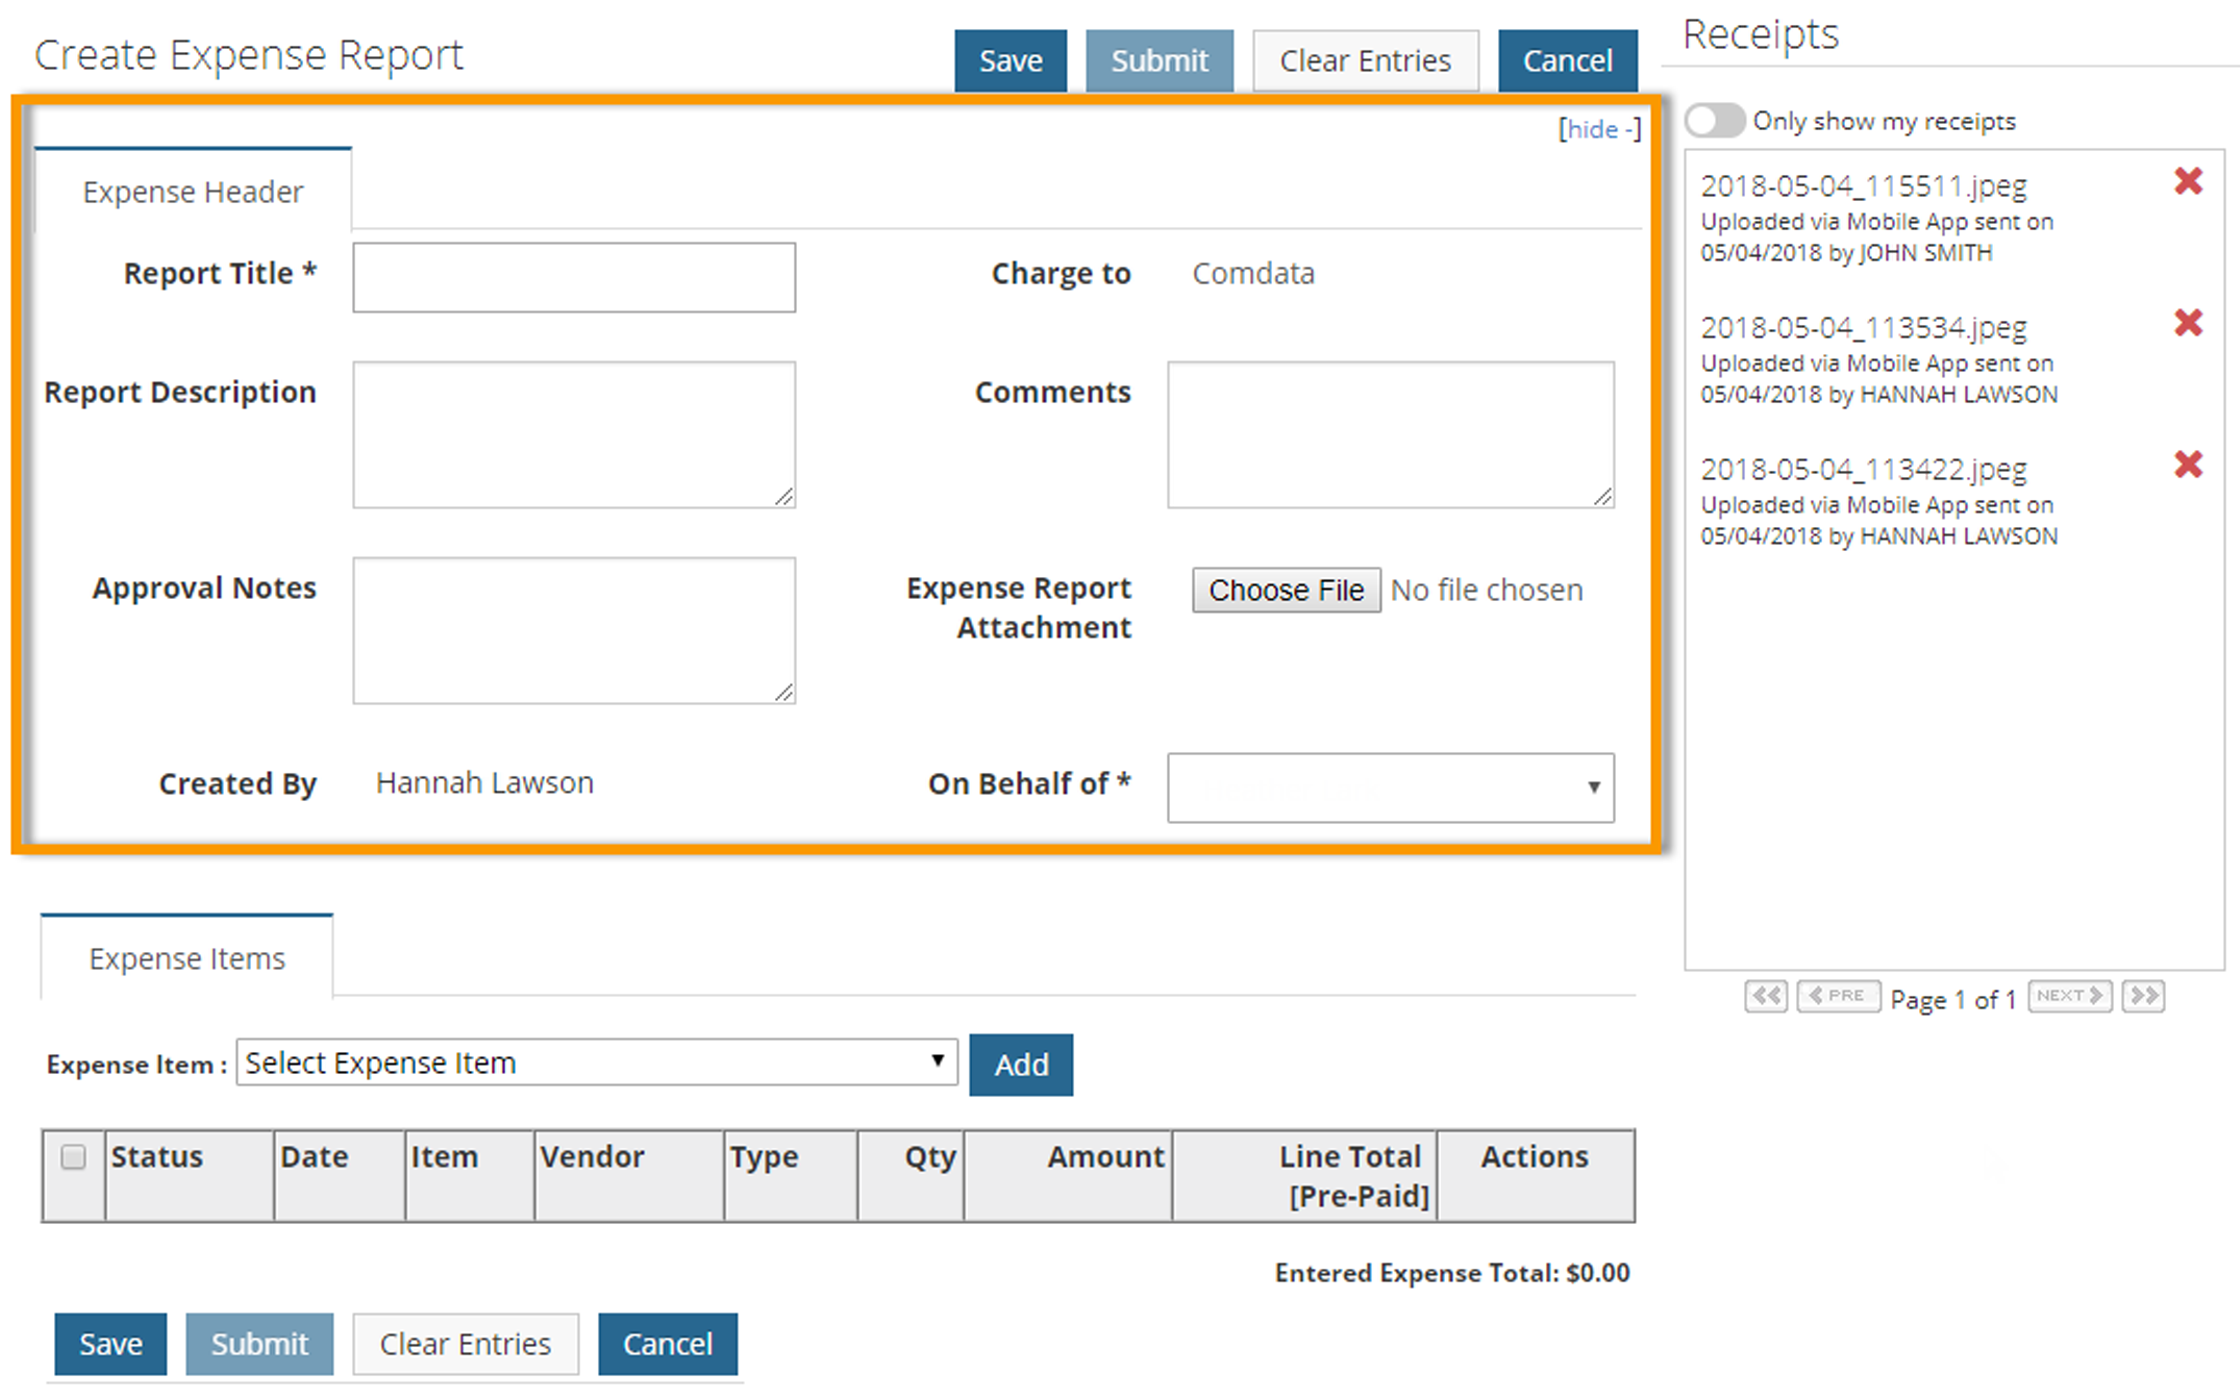
4. Under the Expense Item drop-down, select a mileage expense item and then click Add.

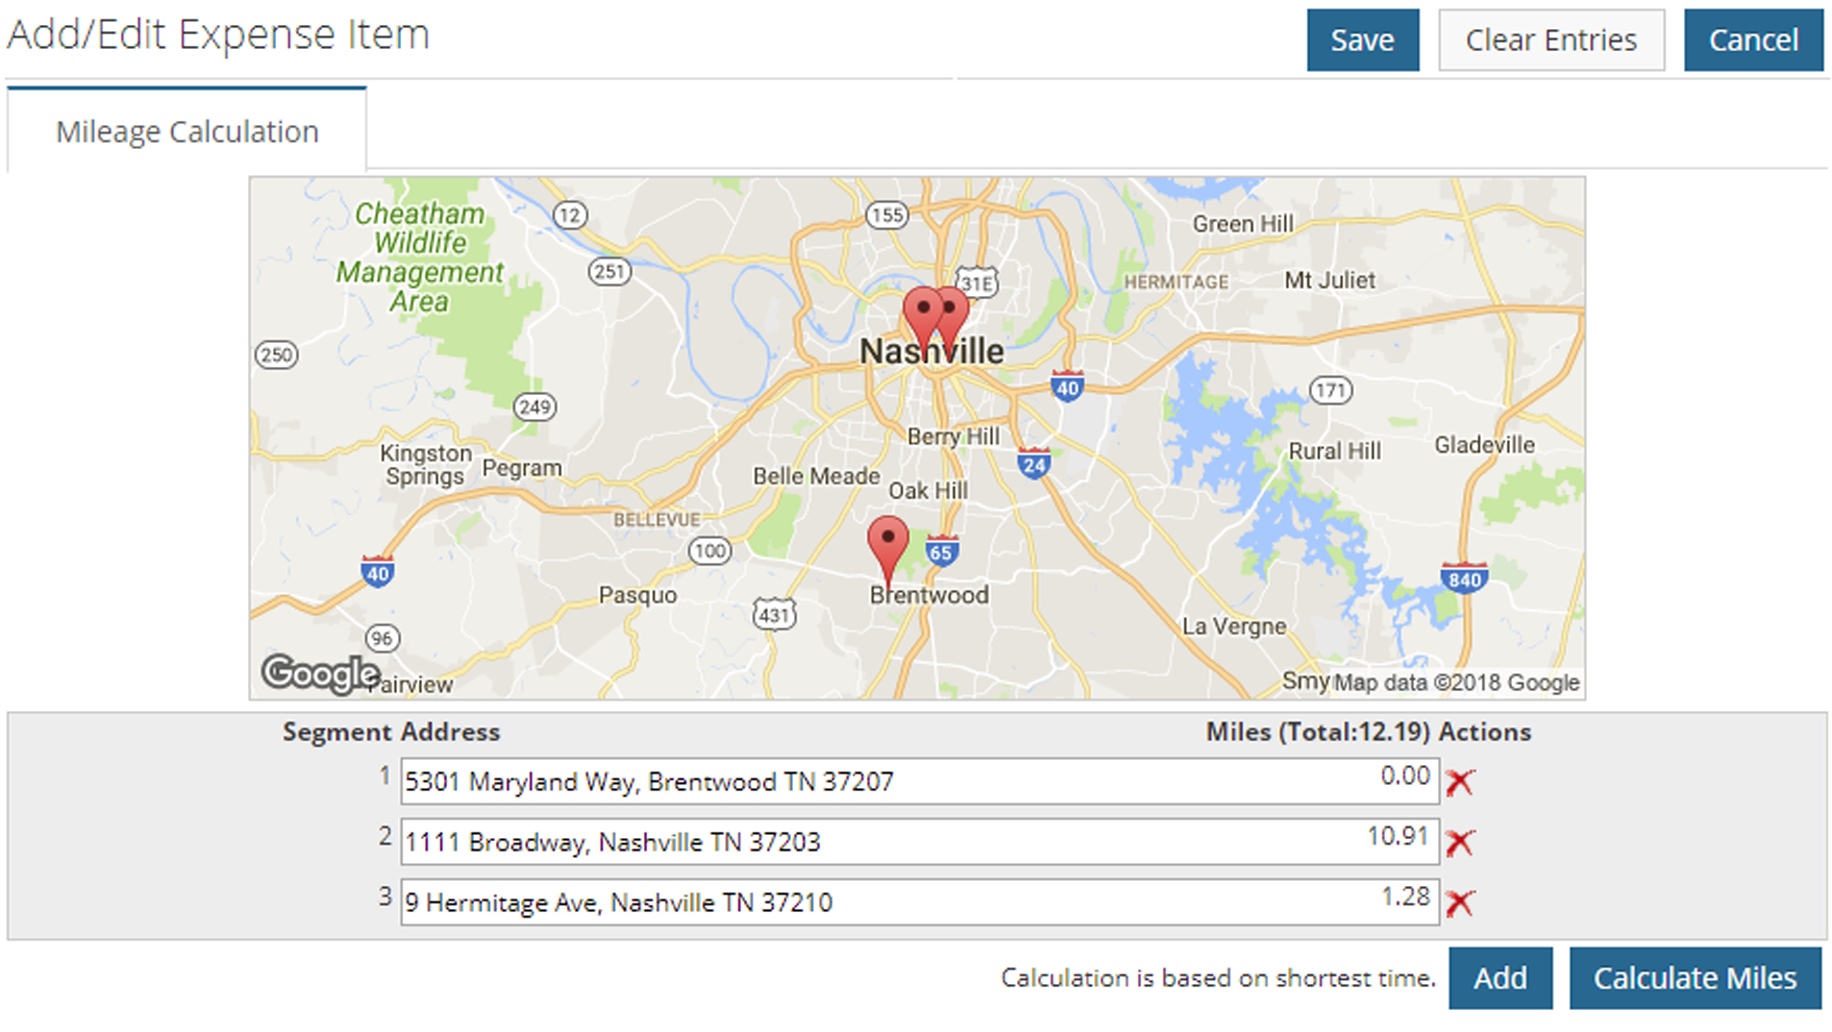
5. At the top of the Add/Edit Expense Item page, enter the start and end address of your trip. To add additional segments to your trip, click Add to display another address line. If you add a segment that will not be used, it will not display once you click Calculate Miles. When ready, click Calculate Miles.

A static Google Maps image displays with a marker on each address. The distance between each marker and the total calculated miles display below the map.
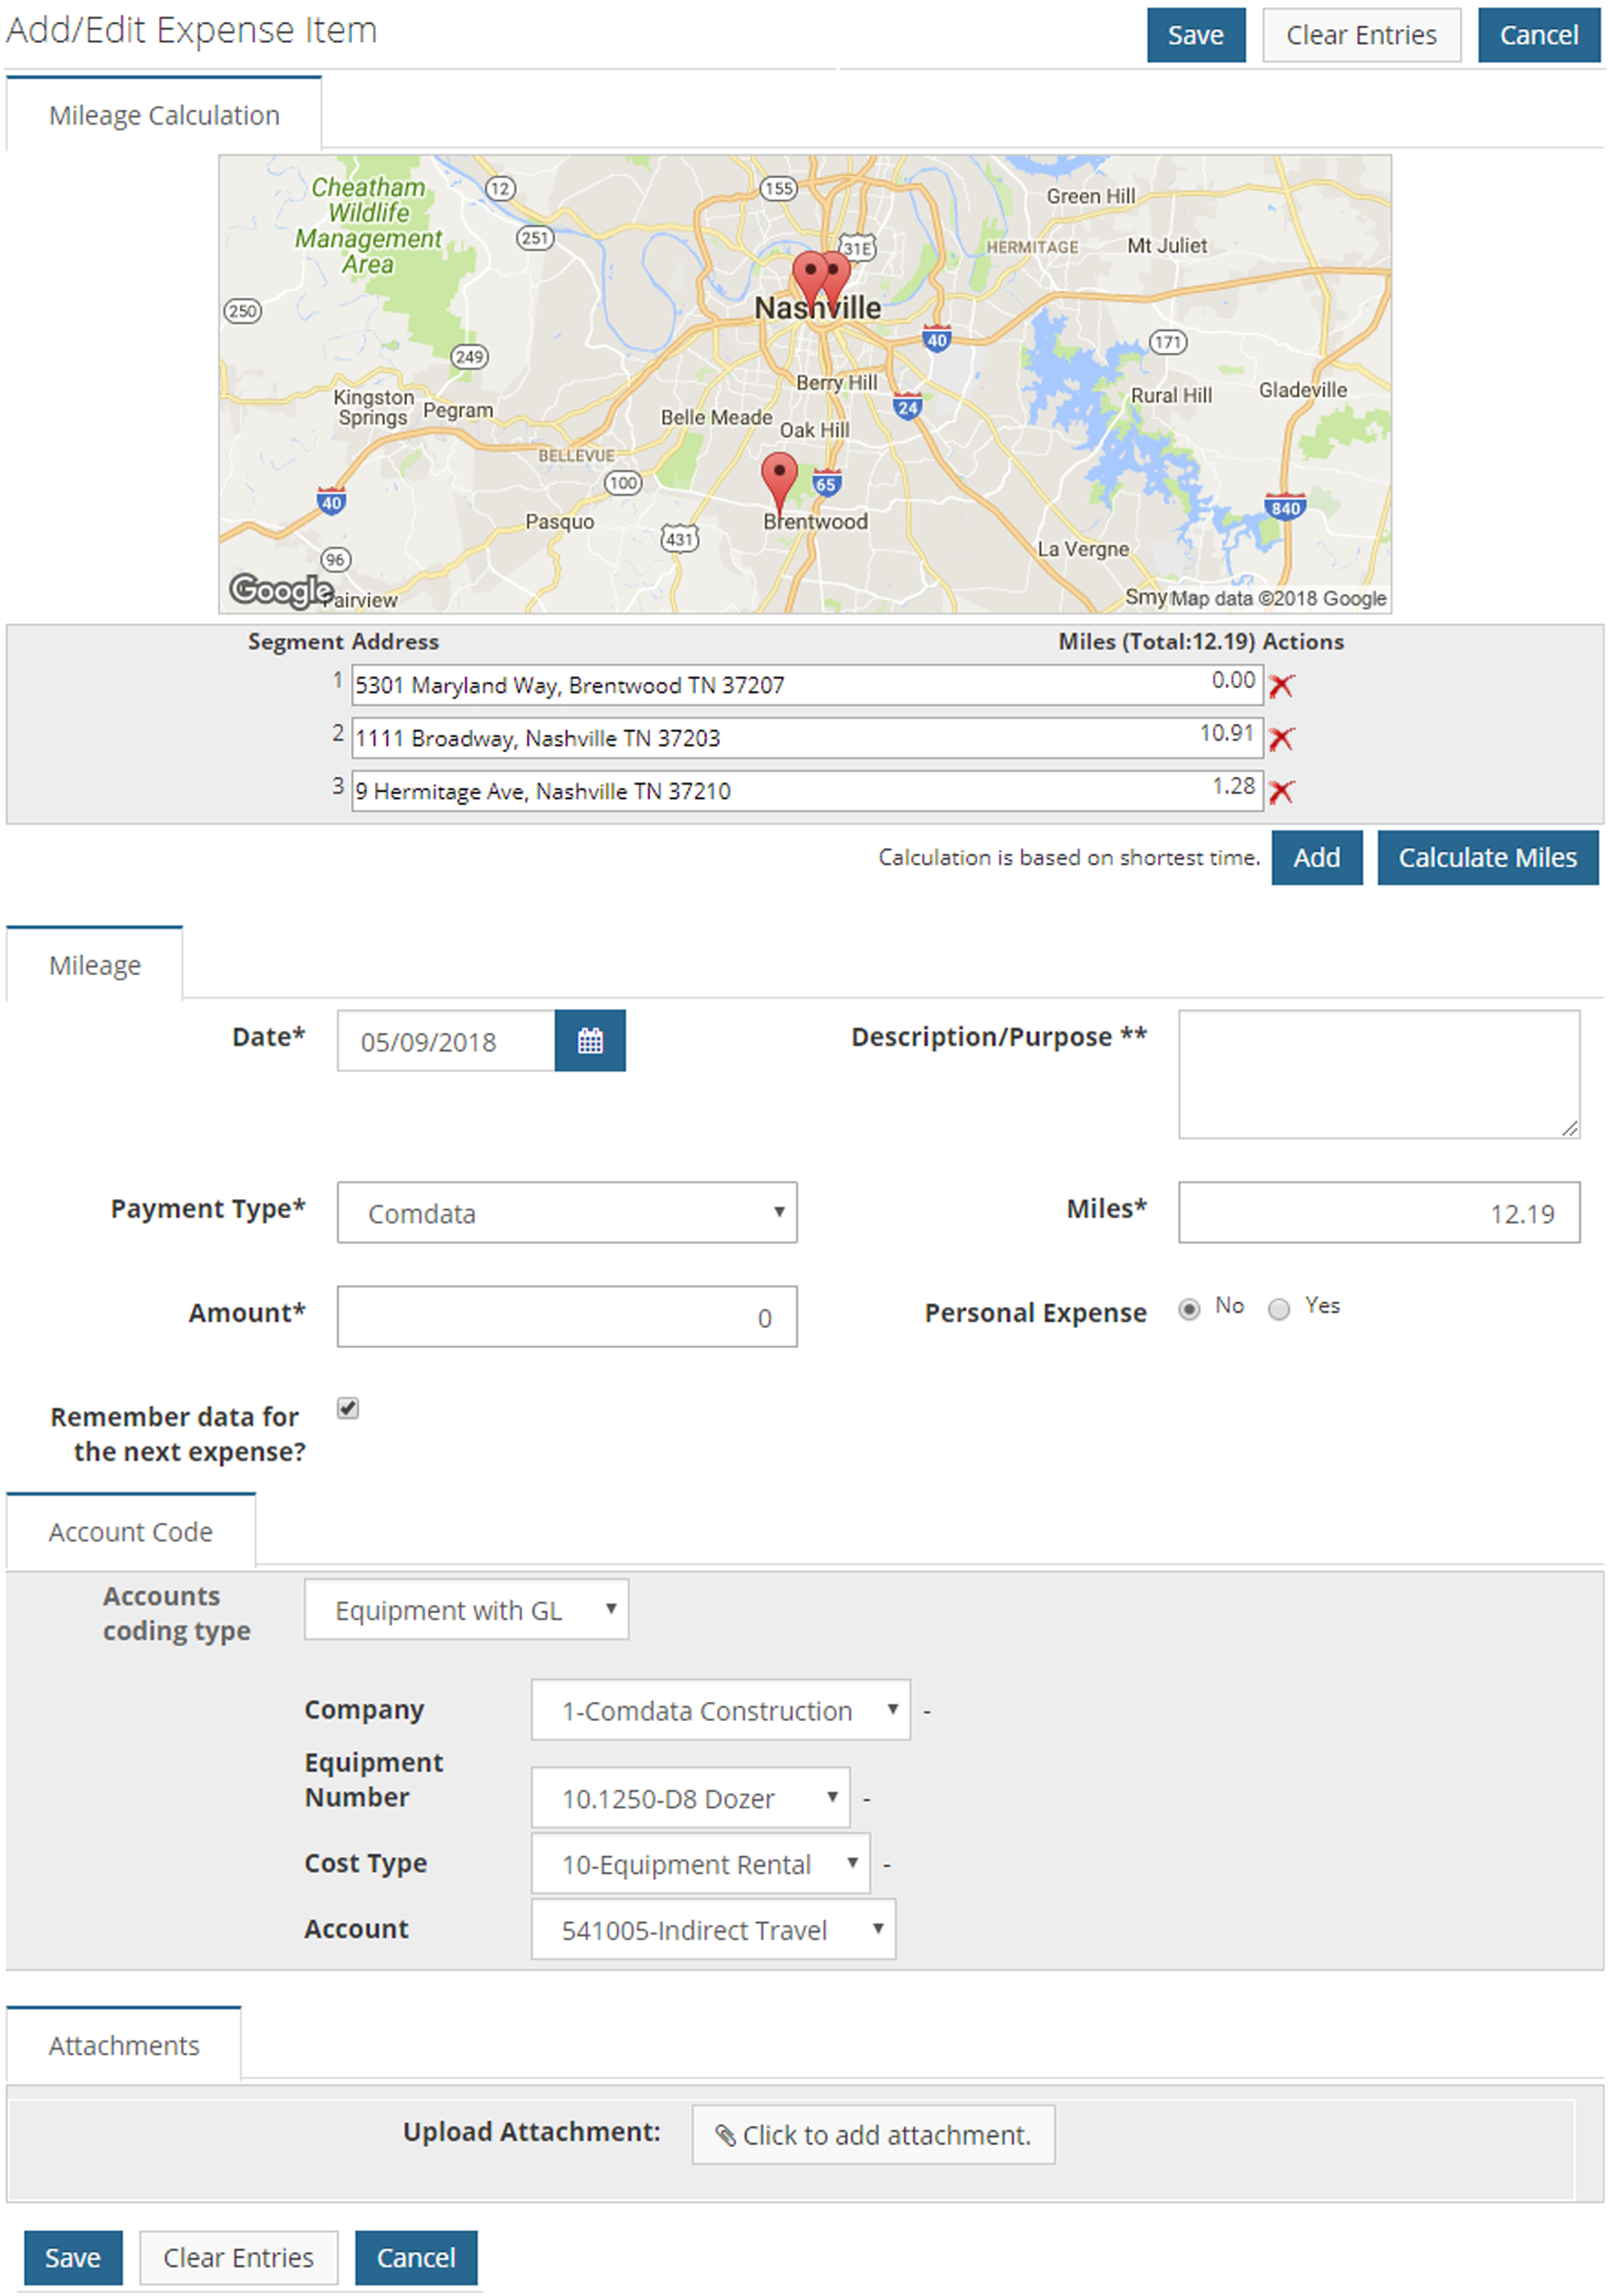
6. Complete the remaining fields. Required fields are denoted by an asterisk. Note the following:
- The total miles displayed in the mileage calculation is the amount displayed in the # of Miles field (or whatever field your Administrator has set up for quantity). To add additional miles, change the quantity to reflect the total number of miles driven.
- The Amount field displays the rate per mile you are to be paid. If this field is editable, enter the rate.
7. When finished, click Save.
8. Return to the Expense Items table and set the view as Detail. You can now see the calculated miles for the expense item.
