If you have an account with TripIt, a travel planning website, you can import trip itineraries to Expense Track and associate them with an expense report. This process helps to alleviate manually entering trip details for expense items. Be aware that this feature applies to only airline, hotel, and car rental expense items.
Note: If you are using the Internet Explorer browser, you will need to add the Expense Track URL (https://expensetrack.com) to your trusted websites. If this is not done, then you may receive an error when logging into Expense Track from TripIt. To add Expense Track to your trusted sites:
- Open Internet Explorer.
- Click Settings > Internet Options.
- Click the Security tab > Trusted Sites.
- Ensure the Enable Protected Mode checkbox is unchecked. Then, click Sites.
- In the dialogue box, enter the Expense Track URL and then click Add.
Click Apply and OK to close out of the Internet Options. You should not experience any issues logging into Expense Track from TripIt.
Create Tripit Account
Before you can load itineraries to Expense Track, create a TripIt account and add trips. Go to www.tripit.com and follow the on screen instructions to set up a TripIt account. Signing up is free of charge.
Load Itineraries to Expense Track
There are two methods of loading your itineraries from TripIt to Expense Track: from the Expense Dashboard or the Add/Edit Expense Item page.
Load Itineraries through the Expense Dashboard
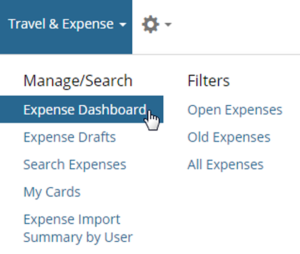
1. On the Expense Track main menu, select Travel & Expense > Expense Dashboard.
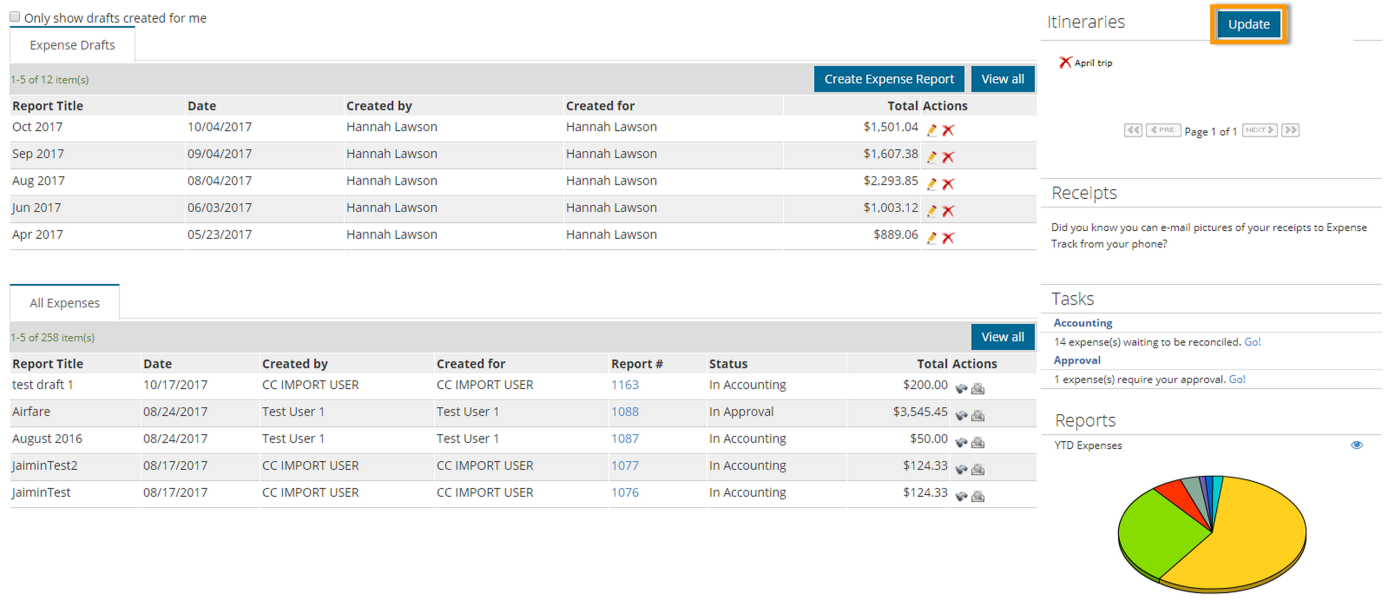
2. Click Update on the Itineraries tab.
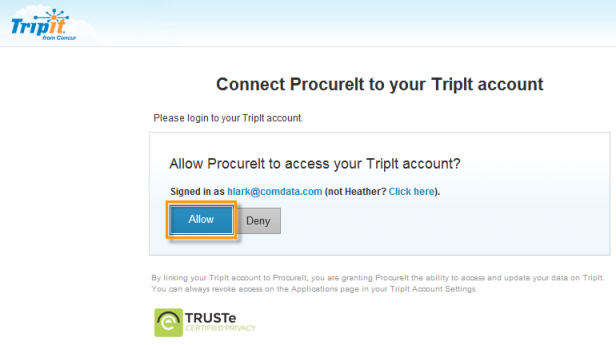
3. Click Allow to connect Expense Track to your TripIt account.
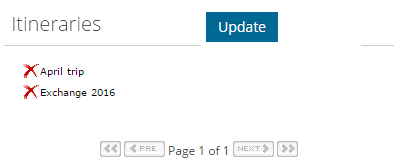
4. The Expense Dashboard reloads to display your itineraries from TripIt. Click one to view its details.
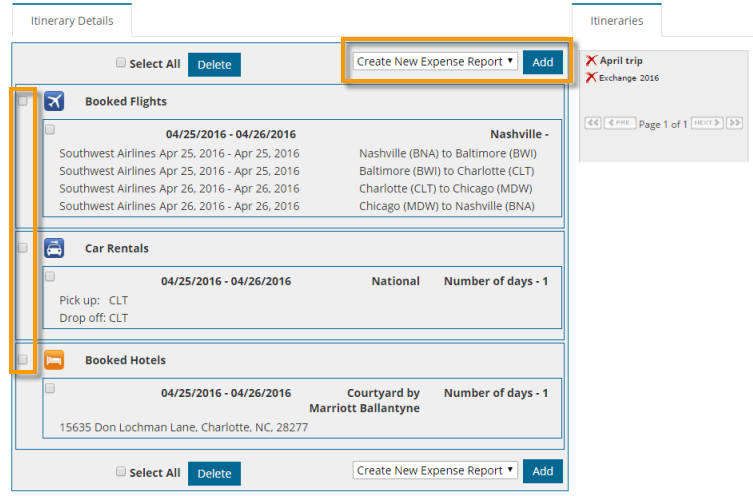
5. The Itinerary Details page opens with information on each trip in the itinerary. Trips are separated into itinerary items and itinerary item details. These items are dependent on the modes of transportation entered in TripIt for the selected itinerary. For example, if part of your trip included air travel, the airline details display under the Booked Flights itinerary item.
To move an itinerary item to an expense report, click the checkbox next to each itinerary item or the itinerary item detail. Then, select Create New Expense Report from the drop-down and click Add.
6. The Create Expense Report page opens. Notice in the Expense Items table the selected itinerary item has been moved over. The Type column identifies the expense item as an itinerary by the itinerary icon ![]() . If an expense item is in red flag status, click the Edit icon
. If an expense item is in red flag status, click the Edit icon ![]() to correct any issues.
to correct any issues.

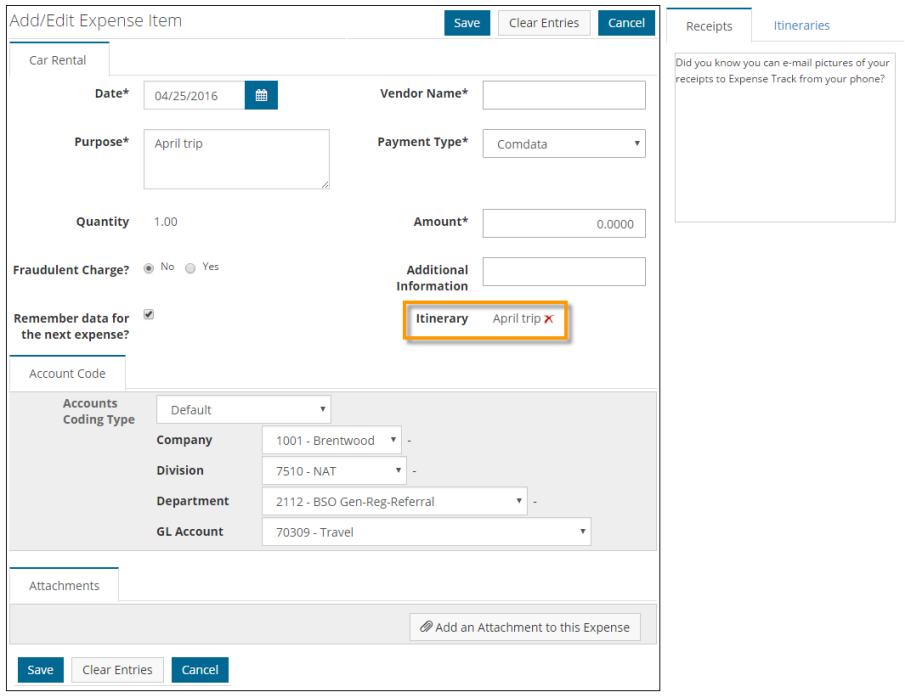
7. Complete the missing information as necessary. Click Save when finished.
8. Return to the Create Expense Report page. Ensure all expense items are moved to green status and all fields in the header are complete. Then, click Submit to send the expense report for approval.
